 how-to
Custom Apparel Design Process: A 2026 Guide
Table of Contents
- Understanding the Custom Apparel Design Process
- How to Prepare Artwork for Screen Printing
- DTG vs Screen Printing for Custom Clothing
- Creating Your Tech Pack and Design Specs
- Understanding the Custom Apparel Production Timeline
- Cost Breakdown and Budgeting for Your Project
- Conclusion: Start Your Custom Apparel Project
- Frequently Asked Questions
Last Updated: September 9, 2026
Understanding the Custom Apparel Design Process
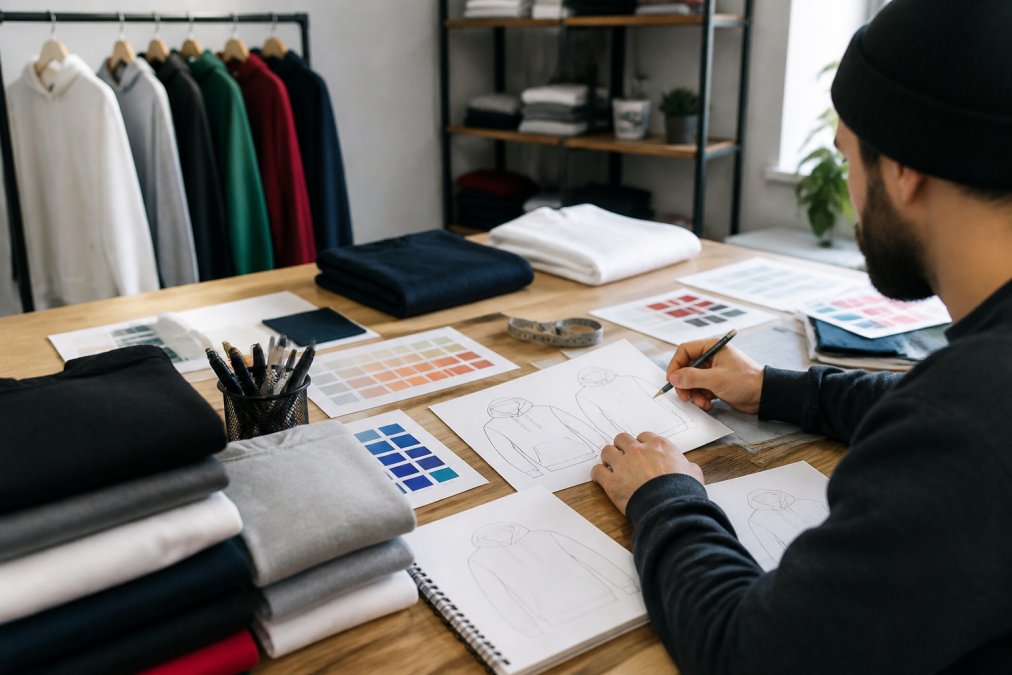
The custom apparel design process is the step-by-step journey from a rough idea to a finished, production-ready garment. Whether you are ordering fifty branded uniforms or a single hoodie, understanding this workflow prevents costly mistakes and ensures the final product matches your vision.
The process begins with concept development, then moves into design creation, technical specification, and production. Most people skip the technical steps and jump straight to ordering, which is why so many projects end in disappointment.
Below, we walk through the entire workflow, including preparing artwork for screen printing, the difference between DTG and screen printing, and building a tech pack that communicates clearly with your manufacturer.
How to Prepare Artwork for Screen Printing
Properly preparing your artwork is the single most important factor in achieving a crisp, durable print. A common mistake is sending a low-resolution image pulled from a website and expecting a professional result on fabric.
Follow these guidelines before sending your files to a printer:
- Use vector files whenever possible. Formats like AI, EPS, or PDF with embedded vectors scale cleanly to any size without losing sharpness.
- Convert all text to outlines. This prevents font substitution issues that can alter your design.
- Set your color mode to CMYK or PMS. Screen printing uses spot colors, not RGB. If your logo has specific brand colors, provide Pantone Matching System numbers.
- Provide high-resolution raster files as backup. If you only have a JPEG or PNG, ensure it is at least 300 DPI at the final print size.
- Separate colors into layers. Each color in a screen print requires a separate screen, so clearly labeling color layers speeds up production and reduces errors.
When in doubt, ask your printer before submitting files. Most reputable shops, including the team at Action Designs, will review your artwork and flag potential issues before production begins.
DTG vs Screen Printing for Custom Clothing
Choosing between Direct-to-Garment (DTG) and screen printing depends primarily on your order quantity and the complexity of your design. DTG works like a high-speed inkjet printer, applying ink directly onto the fabric, while screen printing pushes ink through a mesh stencil.
| Method | Best Order Size | Design Complexity | Cost per Unit | Durability |
|---|---|---|---|---|
| DTG | 1-50 pieces | High detail, unlimited colors | Higher at low volume | Good, but depends on fabric |
| Screen Printing | 50+ pieces | Fewer colors, bold graphics | Drops significantly at volume | Excellent, long-lasting |
Screen printing is the industry standard for large production runs because the per-unit cost decreases sharply as quantity increases. It also produces a thicker ink layer that withstands repeated washing. DTG, by contrast, excels at intricate, full-color designs for small batches, making it ideal for single gifts or small team orders.
A general rule: if you need fewer than fifty shirts with a detailed design, DTG is your best bet. For bulk orders of simple logos, screen printing delivers better value and durability. Many production facilities offer both methods and can recommend the right fit for your project.
Creating Your Tech Pack and Design Specs
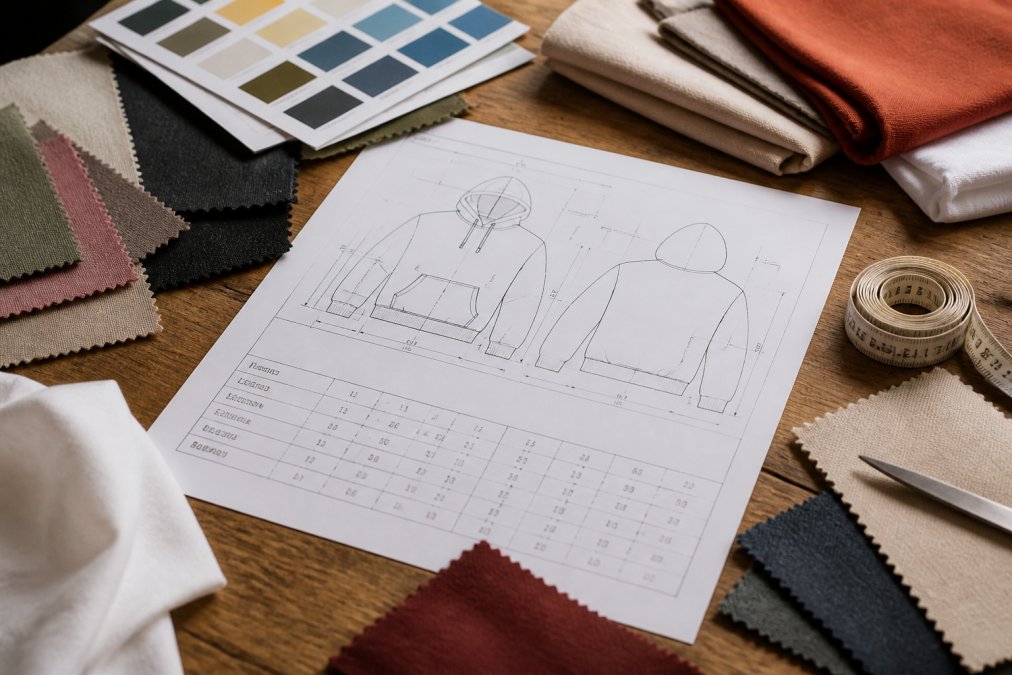
A tech pack is the blueprint that tells your manufacturer exactly how to produce your garment. It includes flat sketches, measurements, materials, and construction details. Skipping this step is the leading cause of sizing errors and color mismatches.
At minimum, your tech pack should contain:
- Flat sketches showing front and back views with all seams and stitching
- A spec sheet with detailed measurements for every size (chest, length, sleeve)
- Fabric and trim sourcing details, including weight, composition, and color codes
- Print or embroidery specifications with exact placement and dimensions
- Packaging and labeling requirements
Investing time in a thorough tech pack reduces back-and-forth communication and ensures your final product aligns with your brand identity. If you are not comfortable drafting one, ask your production partner if they offer design assistance. For reference, the Fashion Design Council's guide on specification sheets provides a solid overview of industry-standard fields.
Understanding the Custom Apparel Production Timeline
A realistic production timeline is the difference between a smooth launch and a missed deadline. While most suppliers quote a simple "2-4 weeks," the timeline is a sequence of distinct phases, each with its own dependencies and bottlenecks. Understanding this structure lets you plan backward from your launch date and build in buffer time.
Here is the realistic, phase-by-phase breakdown of a typical custom apparel order, from file submission to your doorstep:
Phase 1: Pre-Production and Approvals (3-7 Business Days)
This phase is where most delays originate, as it finalizes every specification before a single garment is touched.
- Artwork Review and File Prep (1-2 days): Your printer checks files for color mode, resolution (300 DPI minimum), and font issues. If you have a specific brand color, they will likely pull a physical Pantone swatch book to confirm the ink mix. This step is non-negotiable for brand consistency.
- Digital Proof or Mockup (1-2 days): You receive a digital representation of your design on the garment. This is your last chance to catch errors before production; approving a proof is a legal go-ahead, and changes after this point incur fees.
- Sampling (Optional, adds 5-10 days): For cut-and-sew projects or complex embroidery, a physical pre-production sample is critical. It is a sewn garment that lets you check fit, fabric hand-feel, and construction quality. For orders over 100 units, a sample is a risk management tool, not a luxury.
Phase 2: Production Run (5-15 Business Days)
The duration of this phase depends heavily on the decoration method and order volume.
- Screen Printing: For an order of 50-200 pieces with a 1-2 color design, the actual print run is often completed in 2-3 days. The bottleneck is the screen setup. Each color requires a screen to be burned, which is a meticulous process. A 6-color design will take significantly longer to set up than a 1-color design.
- DTG (Direct-to-Garment): DTG is faster for small batches (1-20 pieces), often completing the print run in 1-2 days. However, the bottleneck here is the pretreatment and curing process, which is slower per unit than screen printing at high volume.
- Embroidery: Digitizing the artwork (converting it to a stitch file) takes 1-2 days. The actual stitching is slower than printing; a complex cap or jacket logo can take 15-20 minutes per piece to embroider.
- Cut-and-Sew: This is the longest production phase. After sampling, the bulk fabric is cut, sewn, and finished. For a run of 500 units, expect this phase to take 10-15 business days minimum.
Phase 3: Quality Control and Fulfillment (2-4 Business Days)
Once decorated, garments enter a quality control (QC) phase before shipping.
- Inspection (1-2 days): Each piece is checked for print defects, color accuracy, and garment flaws. A reputable shop pulls a random sample to check against the approved proof, catching issues like misaligned prints or cracked ink.
- Packaging and Labeling (1 day): Poly-bagging, hang tags, or custom neck labels are applied here. Wholesale orders are sorted by size and packed into cartons with packing slips.
- Shipping (2-5 days): Ground shipping within the continental US typically takes 2-5 business days. Expedited air freight is available for tight deadlines at a significant cost premium.
The Hidden Variable: Seasonality
A standard 2-4 week timeline assumes an off-peak order. September through November are the busiest months due to holiday orders and corporate gifts, with most facilities booked 3-4 weeks out. Submitting artwork on October 15th expecting a 2-week turnaround will likely disappoint.
Actionable Rule of Thumb: Add 1 week to quoted production time during peak seasons for standard decorated orders, and 2 weeks for cut-and-sew. Always confirm the production start date, not just the ship date, before placing your order.
Cost Breakdown and Budgeting for Your Project
Most guides stop at saying "costs vary." This section breaks down where your money goes and provides a tiered budgeting framework. You are not paying for a shirt; you are paying for the shirt plus setup, labor, and production facility overhead.
The Three Pillars of Cost
Your final quote is built on three distinct cost pillars. Understanding them prevents sticker shock and helps you negotiate effectively.
- The Blank Garment Cost: This is the base product, the shirt, hoodie, or jacket you print on. This cost is fixed and non-negotiable. A basic Gildan 5000 cotton tee might cost $2.50-$3.50 wholesale, while a premium Bella+Canvas 3001 can cost $8-$15. Garment quality is the largest variable in per-unit cost; if you are building a brand, do not skimp here.
- The Setup Fee: This one-time charge prepares the machinery. Screen printing setup runs $40-$75 per screen; DTG is lower (often $15-$25) for pretreatment and test print; embroidery digitizing costs $25-$75 depending on complexity. This fee is why ordering 10 shirts costs more per unit than ordering 100, the setup cost is amortized over fewer units.
- The Per-Unit Print/Decoration Cost: This is the labor and ink/thread cost per garment, where economies of scale kick in. A screen printer might charge $4.00 per shirt for a 1-color print on a run of 24, dropping to $1.50 per shirt on a run of 500. DTG per-unit costs are higher but remain flat regardless of design complexity.
A Tiered Budget Framework
Each tier has a different cost structure and strategy.
Tier 1: DIY / Print-on-Demand (1-10 Units)
- Best For: Personal projects, testing a design, or a small team gift.
- Cost Structure: No setup fees, but the highest per-unit cost.
- Budget Expectation: $15-$30 per unit for a standard tee.
- Strategy: Use this tier to test design concepts before committing to a bulk order; the premium buys zero inventory risk.
Tier 2: Small Batch / Decorator (25-100 Units)
- Best For: A small business launch, a team uniform, or an event.
- Cost Structure: Wholesale garment prices plus a setup fee and reduced per-unit print cost.
- Budget Expectation: $8-$12 per unit all-in for a 1-2 color screen print; $12-$18 per unit for DTG with full-color design.
- Strategy: This is the sweet spot for testing a product line. A 50-piece order is the minimum viable quantity for a professional result without over-committing cash.
Tier 3: Full Production (150+ Units)
- Best For: An established product line, a large corporate order, or a retail launch.
- Cost Structure: Maximum economies of scale; setup fees remain, but per-unit cost drops significantly.
- Budget Expectation: $5-$7 per unit for a 1-2 color screen print; $8-$10 for a 4-color design. Cut-and-sew starts at $15-$25 per unit.
- Strategy: At this volume, ask for a detailed quote itemizing garment cost, setup fees, and per-unit print cost. This transparency shows where you can negotiate, such as sourcing a cheaper blank garment.
The Hidden Costs Nobody Tells You About
- Artwork Revisions: If you need a professional designer to fix your file or create a tech pack, this is billed separately, typically $50-$150 per hour.
- Shipping: Freight costs for a bulk order of 200 shirts can be $100-$200 depending on weight and distance. This is often not included in the per-unit quote.
- Rush Fees: If you need your order in 5 business days instead of 10, expect a 15-25% surcharge on the production cost.
Conclusion: Start Your Custom Apparel Project
The custom apparel design process does not have to be overwhelming. By preparing your artwork correctly, choosing the right printing method, and communicating clearly through a tech pack, you set your project up for success. The most common pitfalls are almost always avoidable with proper planning.
Ready to bring your vision to life? Action Designs offers screen printing, embroidery, DTG, and DTF, with the flexibility to supply garments or customize items you provide. Our scalable production handles everything from single shirts to full collections. Get a quote today and see how professional branding and durable, vibrant apparel can elevate your next project.
Frequently Asked Questions
What is the 3-3-3 rule for clothing?
The 3-3-3 rule is a personal styling guideline, not a production standard. It suggests wearing three colors, three accessories, and three garments. For custom apparel design, focus on accurate color matching and garment construction instead. Use Pantone color codes in your tech pack to ensure the printer matches your brand colors exactly, avoiding the disappointment of off-shade samples.
How do I prepare my artwork for custom apparel printing?
Start with vector files like AI, EPS, or PDF for crisp logos and text. For raster images, use high-resolution PNGs or TIFFs at 300 DPI. Convert all colors to Pantone for accurate matching. Remove embedded fonts by converting text to outlines. If you are unsure about the format, ask your printer early, since each method like screen printing or DTG has specific requirements.
What is the difference between screen printing and DTG for custom designs?
Screen printing pushes ink through a mesh stencil, which is ideal for solid colors, simple logos, and large orders because the per-unit cost drops as quantity grows. DTG (Direct to Garment) prints like an inkjet printer directly onto fabric, which is better for intricate, photo-realistic designs or small batches. Your choice depends on order size, design complexity, and fabric type.
How long does the custom apparel design and production process take?
A typical timeline from design approval to delivery is 2-4 weeks. The process includes a proof for approval, a production run, and shipping. Screen printing requires additional setup time for screens, while DTG has minimal setup. Ordering samples and approving them before the full run adds a few days but prevents costly errors. Always confirm the lead time with your provider before committing to an event date.