 how-to
Tips for Faster Custom Apparel Design Approvals
Table of Contents
- Why the Design Approval Stage Slows Down Custom Apparel Orders
- Set Clear Design Guidelines Before the First Proof
- Use an Apparel Mockup Approval Checklist Every Time
- How to Provide Feedback on Screen Printing Designs Without Extra Rounds
- Design Approval Email Templates That Cut the Back-and-Forth
- Version Control and Scope Creep: Two Hidden Approval Killers
- How Custom Apparel Order Turnaround Time Fits Around Approvals
- Frequently Asked Questions
Last Updated: September 15, 2026
Why the Design Approval Stage Slows Down Custom Apparel Orders
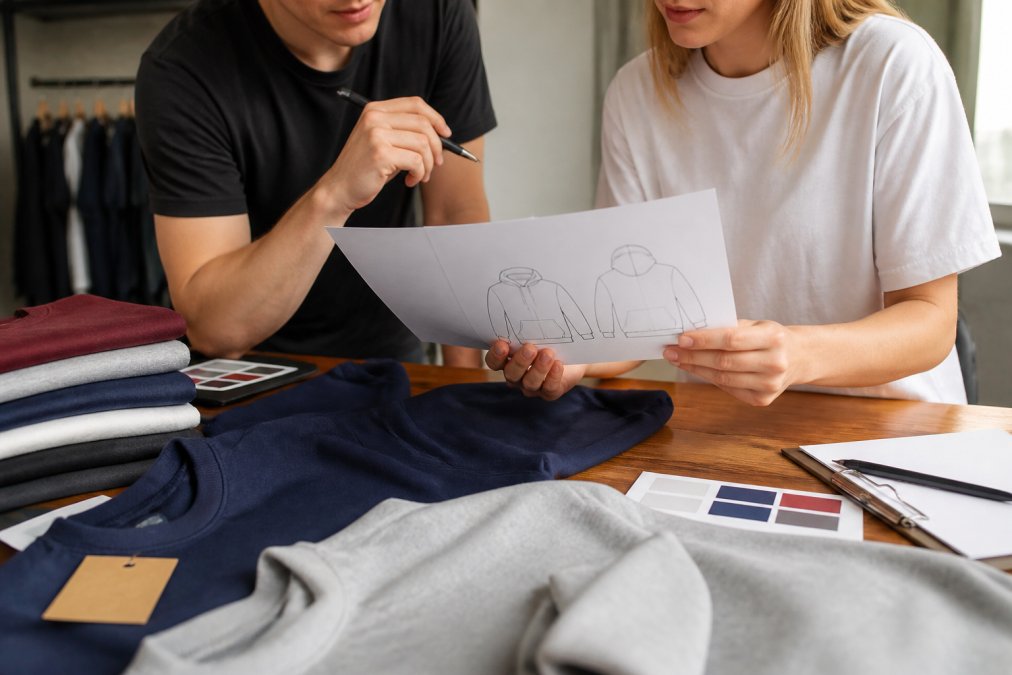
Most custom apparel orders stall in the custom apparel design approvals stage, not production, where a single vague email can add days to a tight turnaround. Custom apparel design approvals is the process of reviewing, correcting, and formally signing off on a digital proof or mockup before garments go to press. Run on scattered emails and group texts, every round trip costs time you don't get back.
Most custom apparel orders stall in the custom apparel design approvals stage, not production, where a single vague email can add days to a tight turnaround. The order isn't late because the printer is slow, it's late because nobody agreed on who approves, what "looks good" means, or when feedback is final.
Below, we'll show you how to compress that loop: clear guidelines, one decision-maker, a reusable checklist, and email templates that cut the back-and-forth.
Set Clear Design Guidelines Before the First Proof
The fastest way to speed up approvals is to define the rules before anyone opens a design file. A design proof is only as fast as the brief behind it.
Start with a one-page standard operating procedure that covers:
- Accepted file formats (vector preferred for screen printing; high-resolution raster for DTG)
- Maximum ink colors per print location
- Minimum line weight and text size for legibility
- Approved fonts and placement zones
- Brand color references (Pantone or CMYK values)
Pantone Color Systems overview is a useful reference for locking color standards before a proof ever gets made. When everyone agrees on the color target, color matching stops being a negotiation and becomes a check.
Name One Decision-Maker and One Point of Contact
Approval paralysis almost always traces back to too many cooks. Assign a single point of contact who collects internal feedback and a single decision-maker with final sign-off authority. Everyone else contributes input; only one person says yes.
It sounds obvious, but it's the step most organizations skip, and the reason a "quick logo tweak" becomes a five-person debate over a shade of blue.
Lock the Print Location, Size Breakdown, and Garment Selection Up Front
Every unconfirmed variable becomes a reason to reopen the proof. Confirm these before design begins:
- Print location: left chest, full back, sleeve, or multiple placements
- Size breakdown: how many smalls, mediums, larges, and so on
- Garment selection: style, fabric, and color for each item
When a client changes the garment after approving the artwork, the entire mockup must be rebuilt. Locking these three items first keeps the design approval process moving in one direction.
Use an Apparel Mockup Approval Checklist Every Time
A standard apparel mockup approval checklist turns a subjective review into a repeatable quality control step. Run the same list on every order to catch errors before they reach the press.
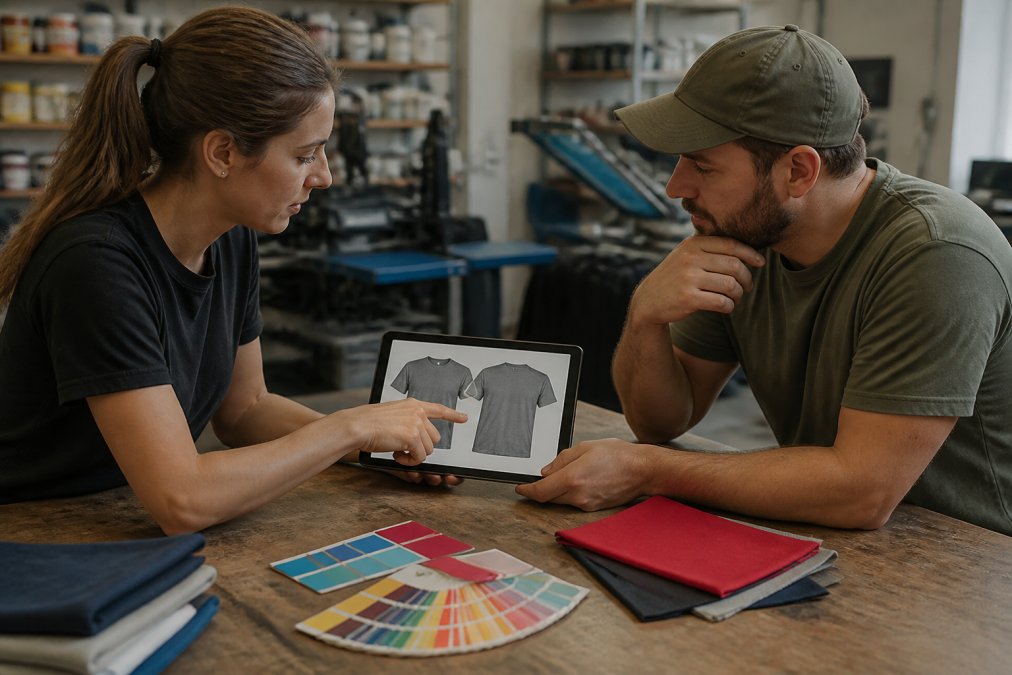
Use this checklist for every proof:
- Logo or artwork is the correct, current version
- Spelling and punctuation verified character by character
- Print location matches the order specifications
- Colors match approved brand references
- Size and proportions look correct on the mockup
- Garment style, color, and fabric confirmed
- Quantity and size breakdown match the order
- Final sign-off name and date recorded
How to Provide Feedback on Screen Printing Designs Without Extra Rounds
Knowing how to provide feedback on screen printing designs is a skill, and it saves the most time. Specific, consolidated, reference-based notes get resolved in one round. Vague impressions generate three.
Give feedback using this structure:
- Reference the exact element. "The left chest logo" not "the logo."
- State the problem plainly. "It's too small to read at arm's length."
- Give a direction. "Increase it by roughly 20%."
- Mark priority. Which notes are must-fix versus nice-to-have.
One consolidated document with numbered notes beats a thread of replies every time, and creates a record you can point back to if scope drifts later.
The Psychology of Feedback: Why Vague Notes Cost You Days
Vague feedback isn't a communication failure, it's a cognitive one. When someone says "make it pop," they're describing a feeling, not a change. The designer guesses, produces a revision, and the client reacts to the guess rather than the original intent, a full round trip.
The fix is to translate feelings into parameters: "make it pop" becomes "increase contrast between the logo and the shirt" or "make the text bolder." That single step removes an entire revision round.
Design Approval Email Templates That Cut the Back-and-Forth
Design approval email templates remove the blank-page problem and keep every order on the same track. Below are three you can copy and adapt today.
Template 1: Proof delivery
Subject: Proof for [Order #] - review by [Date]
Hi [Name], attached is the digital proof for [Order #]. Please review against the checklist below and return all feedback in one reply by [Date] so we can hold your production schedule.
[Checklist link]
One consolidated set of notes keeps us on your target turnaround.
Template 2: Feedback request
Subject: Feedback needed on [Order #] proof
Hi [Name], to keep your [Date] delivery on track, please send all changes in a single numbered list by [Time] today.
Template 3: Final approval
Version Control and Scope Creep: Two Hidden Approval Killers
Version Control: Kill the 'final_v2_real_final' Problem
[OrderNumber]_[ClientSlug]_[Item]_v[##]_[YYYY-MM-DD]
Rules that make the convention actually work:
How to Handle Scope Creep During Approval
A change-order note only needs four lines:
How Custom Apparel Order Turnaround Time Fits Around Approvals
Here's how the stages typically stack up:
| Stage | Typical Duration | What Speeds It Up |
|---|---|---|
| Design brief and guidelines | 1-2 days | Pre-approved brand assets |
| Proof creation | 1-3 days | Clean vector files |
| Client review and feedback | 1-5 days | One decision-maker, one consolidated reply |
| Revision rounds | 1-2 days each | Specific, reference-based notes |
| Final sign-off | Same day | Clear approval email |
| Production and fulfillment | Varies by quantity | Confirmed specs before press |
Where the Days Actually Go
Bridging Design Software and Project Management Tools
Frequently Asked Questions
What is the standard turnaround time for custom apparel design approvals?
Most print shops return a first digital proof within one to three business days of receiving clean vector art and complete order details. Approval itself is usually the longer half: clients who consolidate feedback into a single round typically sign off within 24 to 48 hours, while orders that spread notes across email threads and multiple stakeholders can stretch approval to a week or more. Ask your vendor for their proofing timeline in writing, then work backward from your event or production schedule.
How can I provide better feedback on apparel design proofs?
Reference the proof by version number and call out the exact element, print location, and change you want. Instead of "make the logo bigger," write "increase the front chest logo by 1 inch and move it 0.5 inch higher." Group all comments from every stakeholder into one message rather than sending them as they arrive. If you are unsure what a change will look like, ask for a revised mockup visualization before approving, since guessing at scale and color on a screen is where most revision rounds get wasted.
What file formats are best for custom apparel design approvals?
Send vector files such as AI, EPS, or PDF with outlined fonts and a transparent background. Vector art scales cleanly to any print size and lets the shop separate colors for screen printing without redrawing your logo. Raster files like JPG or PNG work for DTG and DTF, but they need to be at least 300 DPI at final print size or fine details and small text will look soft. If you only have a low-resolution logo, expect a delay while it gets rebuilt, and budget for that step in your production schedule.
How do I avoid common delays in the custom apparel design approvals process?
Assign one decision-maker, standardize a mockup approval checklist, and cap revision rounds at two or three before the order moves to print. Confirm print location, size breakdown, garment selection, and color matching against a physical sample or Pantone reference rather than a screen. Keep a shared folder for design assets and version history so nobody approves an outdated file. Finally, build a buffer into your production schedule for rush delivery requests, because a missed approval date is the most common reason bulk orders ship late.